Last updated: 1 August 2026
Quick answer
Most resin driveways aged 3-10 years can be repaired rather than replaced. Hairline cracks, loose stones and small dips are usually fixable with targeted patching for around £1,200 on average in the UK, completed in 1-2 days. Full replacement only becomes the sensible call when the sub-base has failed across large areas, or when UV damage and binder breakdown affect the whole surface.
Key takeaways
- Resin Driveway Repair & Patching: Fixing Cracks, Dips and Loose Stones Without Full Replacement is a proven, cost-effective route for most localised faults on drives 3-10 years old.
- Typical UK repair cost sits around £1,200, versus £3,500+ for full resurfacing.
- Cracks under 2mm often need widening into a V-channel so repair resin bonds properly.
- Dips and sinking almost always mean a base problem, so surface-only fixes won’t last.
- Loose stones are fixed by removing failed aggregate, cleaning the void, and re-binding with matched resin.
- DIY is realistic for small defects; extensive cracking or lifting needs a professional assessment.
- Curing takes roughly 24 hours at 20°C, up to 48 hours below 10°C, before any vehicle traffic.
What is resin driveway repair and how does it work?
Resin driveway repair is the process of restoring localised damage, cracks, loose stones, small dips or worn patches, without stripping and re-laying the whole surface. A repair kit or fresh resin binder is mixed with matching aggregate, worked into the prepared area, and levelled with the surrounding surface.
The principle is simple. Resin-bound systems are stone held together by a clear polyurethane or epoxy binder. When that binder fails locally, or stones work loose, you replace only the affected section and blend the edges. Done well, a patch is virtually invisible once cured.
Ben Sperring, Surfacing Manager (25+ years): “A resin drive isn’t a slab. It’s thousands of stones held by binder. If a small area fails, you don’t rip up the drive, you rebuild that patch and blend it. The trick is matching the aggregate and getting the base right underneath.”
Can you fix resin driveway cracks without replacing the whole thing?
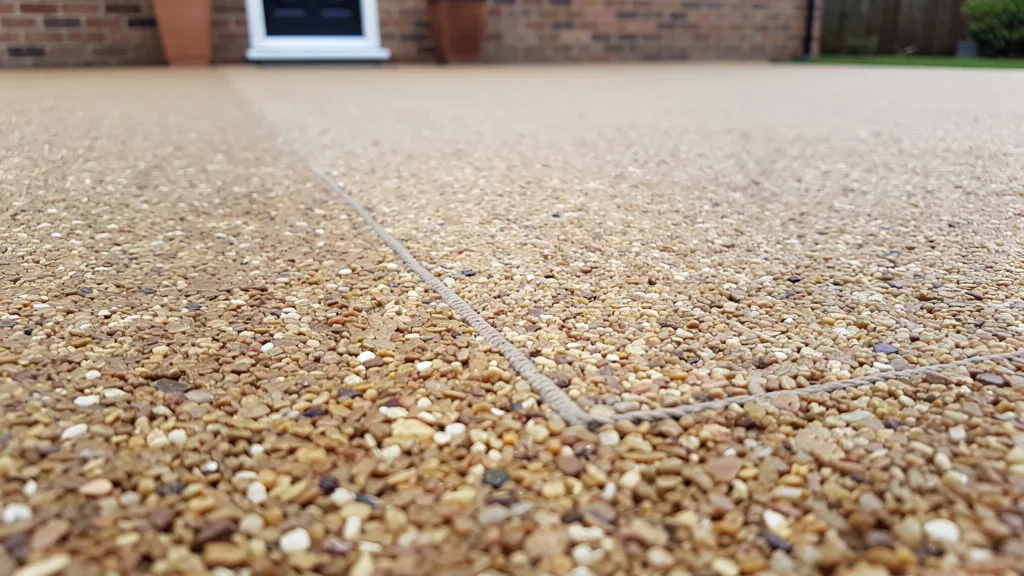
Yes. The vast majority of cracks in resin driveways can be repaired without full replacement, provided the sub-base is still sound. Hairline surface cracks, thermal cracks and small settlement cracks are all standard patch jobs.
The workflow is well established across the industry:
- 🧽 Pressure wash the area and let it dry for 24-48 hours.
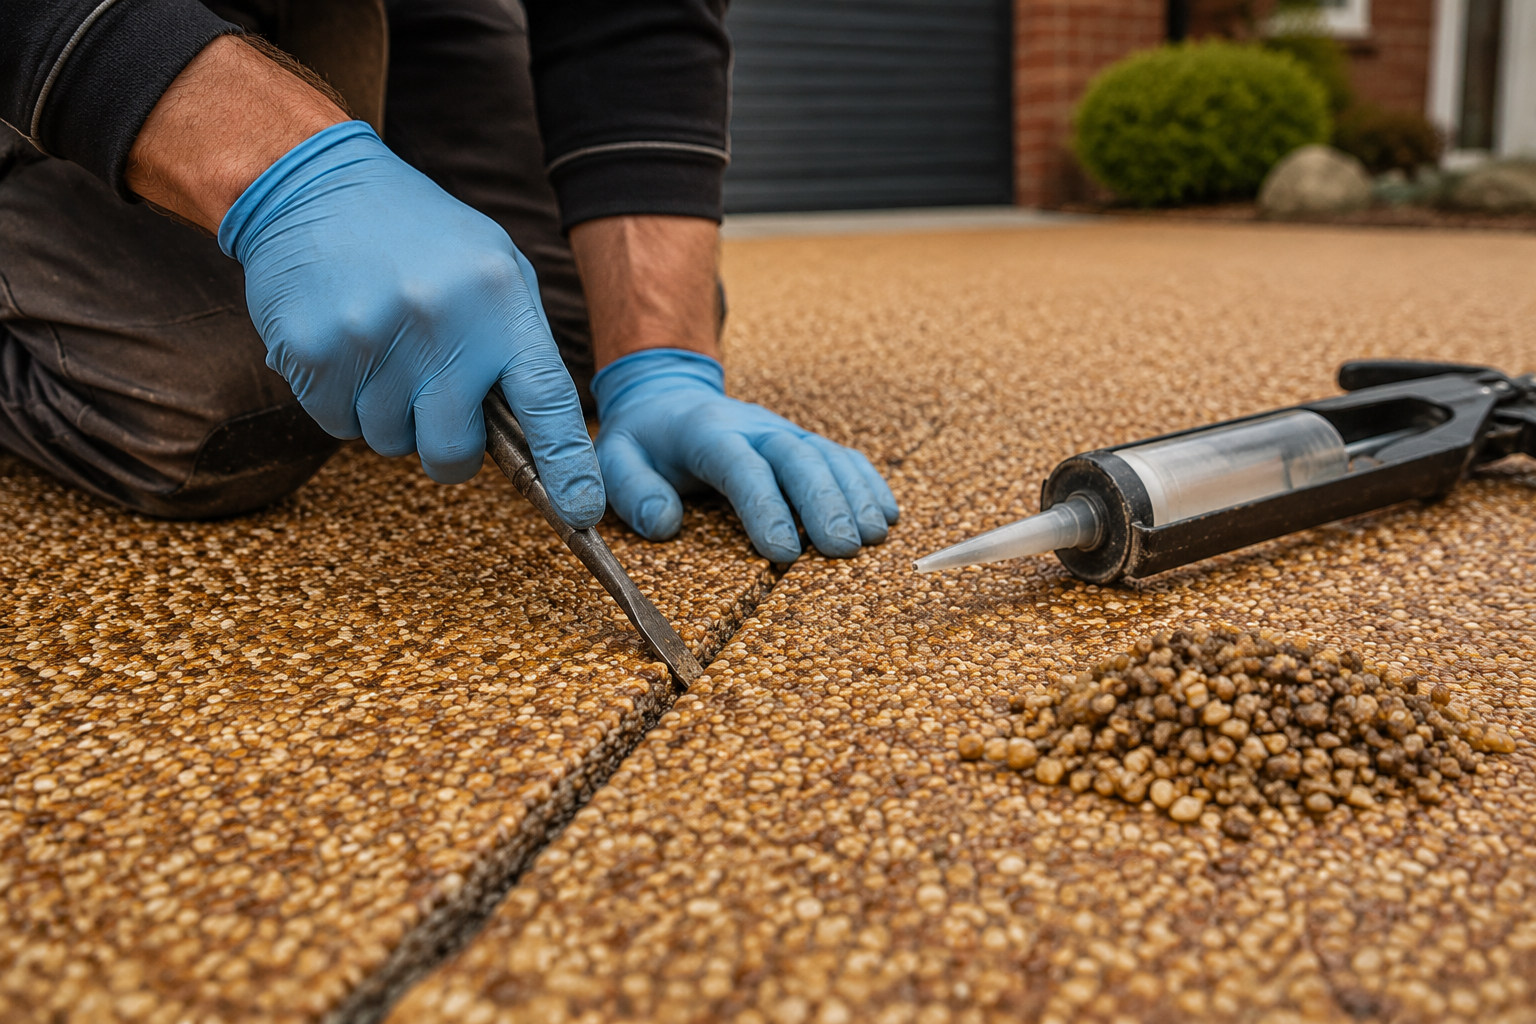
- 🔧 Widen the crack slightly with a chisel or angle grinder, creating a V-channel if it’s under 2mm.
- 🎯 Mix repair resin per manufacturer ratios (working time is tight, roughly 20 minutes at 20°C, only 6 at 32°C).
- 🪣 Fill with resin, or resin-plus-aggregate for wider cracks, using a caulking gun then trowelling smooth.
- ⏱️ Cure fully before foot traffic (about 24 hours at 20°C) and 48 hours before driving on it.
Choose repair over replacement if: cracks are localised, the surface underfoot feels firm, and there’s no widespread sinking.
How much does it cost to patch a resin driveway?
UK cost guides in 2026 put average resin driveway repair at around £1,200, with most jobs completed in 1-2 days. Small DIY patches using a repair kit can cost £40,£150 in materials alone.
Here’s a realistic breakdown:
Repair type |
Typical cost (UK 2026) |
Timeframe |
|---|---|---|
DIY hairline crack kit |
£40,£150 |
Half day + curing |
Professional small patch (up to 2m²) |
£400,£700 |
1 day |
Multiple patches or dip repair |
£900,£1,500 |
1-2 days |
Partial resurfacing (large section) |
£1,800,£3,000 |
2-3 days |
Full driveway replacement |
£3,500,£8,000+ |
3-5 days |
For a fuller picture of pricing across surface types, see our 2026 driveway installation costs guide.
What’s the difference between resin repair and full driveway replacement?
Repair targets the fault. Replacement rebuilds everything. Repair keeps 90%+ of your existing drive intact, costs a fraction, and finishes in a day or two. Replacement is the right call only when the sub-base or binder has failed across the majority of the surface.
Repair suits you if:
- ✅ Damage is localised (under about 20% of the total area)
- ✅ The sub-base is still solid where the drive is unaffected
- ✅ The drive is under 10 years old and the aggregate colour is still available
Replacement is smarter if:
- ⚠️ Cracks appear across the whole drive, not just in patches
- ⚠️ There’s widespread UV yellowing or binder chalkiness
- ⚠️ Multiple sunken zones point to a failed sub-base
How do I fix loose stones in my resin driveway?
Loose stones happen when the binder above them has broken down or was under-applied at installation. The fix is to remove the loose aggregate, clean out the void, and re-bind with fresh resin and matched stone.
Step-by-step:
- 🧹 Vacuum or sweep up the loose gravel, keeping it if the colour matches.
- 💦 Pressure wash the exposed area and dry thoroughly (24 hours minimum).
- 🥣 Mix fresh resin binder with the recovered aggregate (or new matching stone).
- 🪄 Trowel it into the void, pressing firmly to eliminate air pockets.
- ✨ Level with the surrounding surface and cure.
An insider tip from our team: applying a UV-stable sealer coat over the whole drive after localised repairs helps lock down borderline stones and restores that fresh, glossy finish. Our driveway maintenance guide walks through this in more depth.
Why is my resin driveway cracking and what should I do?
Cracks in resin driveways come from three main causes: sub-base movement, thermal expansion, or binder breakdown from UV and age. Drives aged 3-10 years typically show the first signs, and the correct response depends entirely on which cause is at play.
Diagnose before you repair:
- 🌡️ Thermal hairlines: fine, straight cracks that follow the sun’s warmest lines. Cosmetic. Patch with a crack repair kit.
- 🏗️ Settlement cracks: wider, often with a slight step or dip. Base issue. Cut out, rebuild base, re-lay locally.
- ☀️ UV binder failure: surface looks chalky, stones dust off when rubbed. Widespread breakdown. Consider full resurfacing.
- 🌱 Edge cracks: near lawn or borders where restraint is weak. Reinforce the edge and patch.
Best way to fill dips and sunken areas in resin driveways
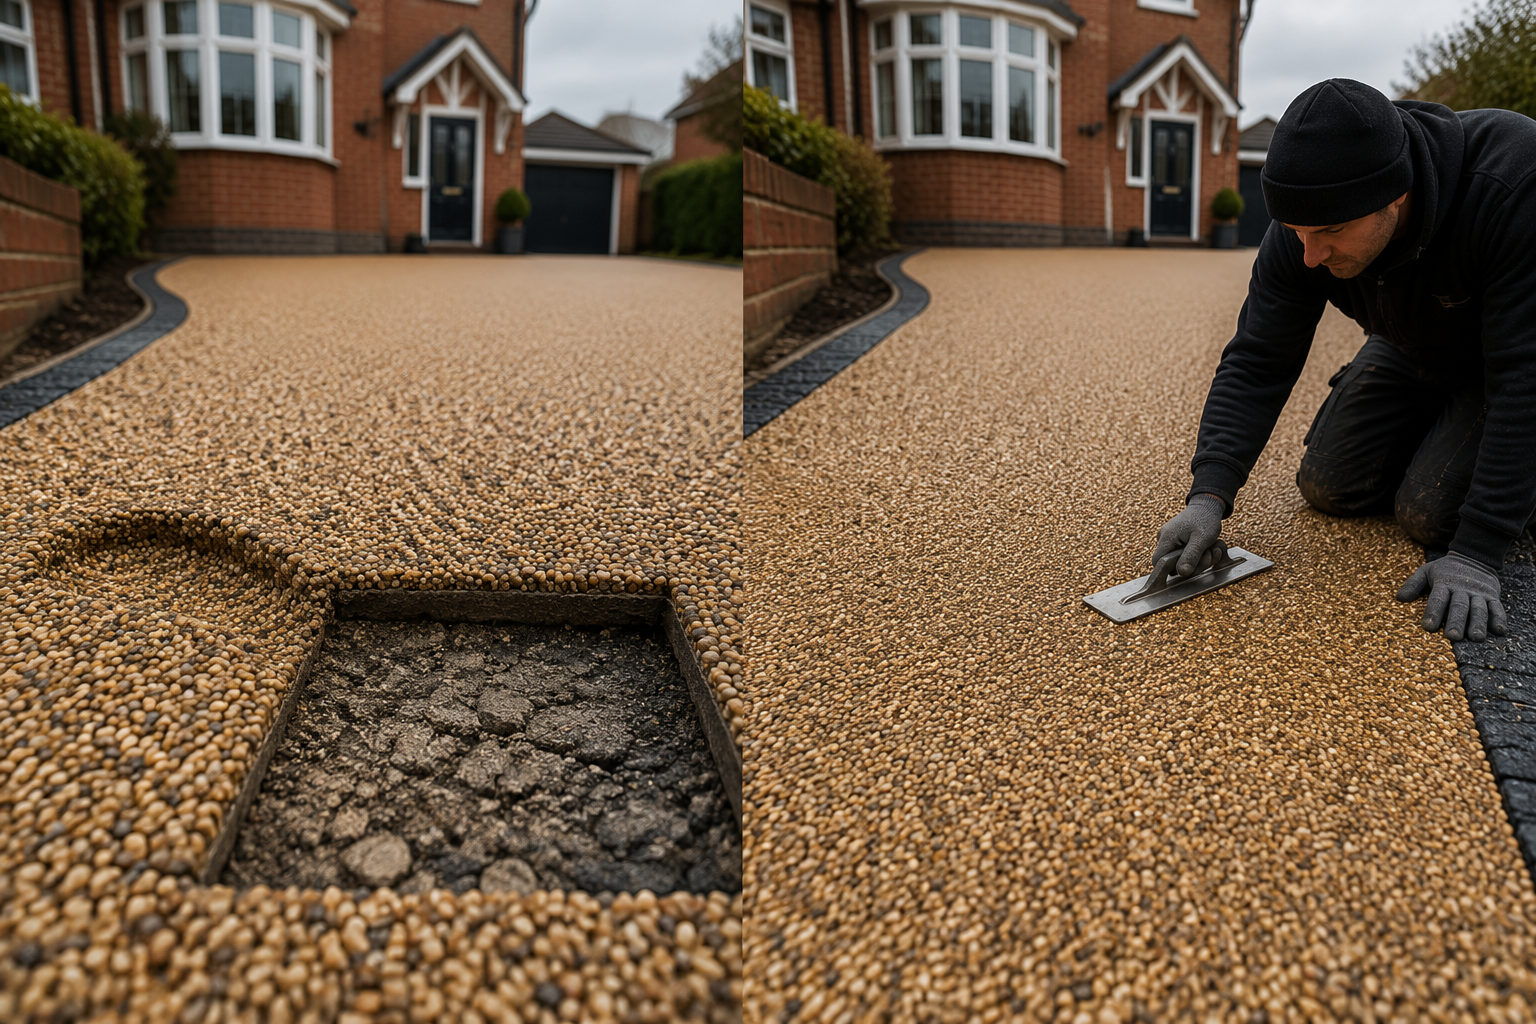
Dips almost always mean the sub-base beneath has failed, so a proper fix requires cutting out the sunken section, rebuilding the base, and re-laying resin on top. Simply pouring more resin over a dip won’t last, because the underlying cause is still there.
The correct method:
- Mark out the sunken zone with a slight overcut into sound resin.
- Cut cleanly with an angle grinder along the marked line.
- Lift the failed resin and inspect the sub-base.
- Rebuild with fresh compacted MOT Type 1 or bound base as needed.
- Re-lay matching resin-bound aggregate, feathering into the surrounding edges.
Tony Flook, Managing Director (30+ years): “The mistake homeowners make is topping up a dip with more resin. You’ve hidden the problem, not fixed it. The base failed once, it’ll fail again. Cut it out properly. That’s commercial-grade thinking applied to a home drive.”
How long does resin driveway patching last?
A properly done resin patch typically lasts 8-15 years, matching the expected life of the original driveway when installation quality is good. The critical factors are base preparation, correct resin-to-aggregate ratios, and matching materials.
Patches fail early when installers skip drying time, use the wrong binder for the temperature, or ignore an underlying base problem. Done properly, you shouldn’t be able to spot the repair after 12 months of weathering.
Can I repair a resin driveway myself or do I need a professional?
DIY works for small, isolated defects: hairline cracks, a handful of loose stones, or a patch under about 0.5m². Anything larger, structural, or spread across the drive needs a professional.
Realistic DIY jobs:
- 🔨 Filling hairline cracks with a repair kit
- 🪨 Re-binding a small patch of loose stones
- 🎨 Refreshing worn sealer
Call a professional when:
- 🚧 Cracks are widening or multiplying
- 🚧 You’ve got dips, sinking, or lifting anywhere
- 🚧 Repairs will exceed 1-2 square metres
- 🚧 You can’t source matching aggregate
For jobs on the edge, our team offers a free site assessment so you know exactly what’s realistic to tackle yourself.
What products do I need for resin driveway crack repair?
For a competent DIY crack repair, you need: a resin repair kit (epoxy or polyurethane), matching aggregate, a caulking gun, a small trowel or putty knife, an angle grinder or chisel, and a pressure washer for prep.
Kit checklist:
- 🧴 UV-stable resin repair compound (epoxy or polyurethane, suited to UK temperatures)
- 🪨 Aggregate matched to your existing stone colour and size
- 🔫 Caulking gun for cartridge-based fillers
- 🔪 Putty knife and small pointing trowel
- ⚙️ Angle grinder with masonry disc, or a cold chisel
- 💧 Pressure washer or stiff brush
- 🔥 Heat gun (optional, for feathering repair edges)
- 🧤 Nitrile gloves and safety glasses
Epoxy and polyurethane repair materials both perform well in UK conditions, but polyurethane tends to stay more flexible through temperature swings.
How do you fix a resin driveway that’s lifting or separating?
Lifting or separation means the bond between resin and sub-base has failed, usually from moisture ingress or contaminated preparation at install. The affected section must be cut out, the base cleaned or replaced, a bonding primer applied, and fresh resin-bound aggregate laid.
This is rarely a DIY job. Lifting suggests water is getting underneath, which can spread. A specialist should inspect drainage, check for perimeter failures, and confirm whether the issue is isolated or symptomatic of a wider install fault. If your drive is a candidate for full replacement, our premium resin driveway installation service covers commercial-grade base prep that stops this recurring.
What are common mistakes people make when repairing resin driveways?
The biggest mistakes are rushing prep, ignoring the base, and mismatching materials. Each one turns a repair that should last a decade into one that fails within a season.
Top five to avoid:
- ❌ Skipping the dry time. Resin will not bond to damp surfaces. 24-48 hours minimum after washing.
- ❌ Filling dips without addressing the base. The problem returns, worse.
- ❌ Wrong aggregate. Colour and size must match, or the patch will be a permanent eyesore.
- ❌ Ignoring working time. Once mixed, you’ve got roughly 20 minutes at 20°C. Work in small sections.
- ❌ Driving on the repair too soon. Foot traffic at 24 hours, vehicles at 48+ hours minimum.
Is resin driveway repair worth it or should I replace it?
Repair is worth it in about 8 out of 10 cases we assess. At around £1,200 for typical patching versus £4,000+ for replacement, the maths clearly favours repair whenever the underlying structure is sound.
Replacement wins when:
- The drive is over 15 years old with widespread binder failure
- More than 30% of the surface shows defects
- The sub-base has failed across multiple zones
- You’re changing the drive’s use (adding EV charging, a wider entrance, or upgrading drainage)
Tommy Clancy, Pre-Construction Consultant: “I’ve walked drives where the owner assumed they needed a full replacement. Nine times out of ten it’s three patches and a fresh seal. Get a proper eye on it first. Don’t waste money you don’t need to spend.”
FAQ
Can you repair a resin driveway in winter? It’s possible but slower. Curing extends to 48 hours or more below 10°C, and you shouldn’t attempt it if surfaces are damp or frost is forecast within 48 hours. Spring and autumn give the best results.
Will a repaired patch be visible? If the aggregate is matched and the installer feathers the edges properly, a patch is very hard to spot after a few weeks of weathering. Fresh repairs look slightly glossier for the first 30-60 days.
How do I stop my resin driveway cracking again after repair? Address drainage, avoid heavy point loads (skips, scaffolding), and re-seal every 3-5 years. Cracks that keep returning in the same spot usually point to a base issue that needs proper cutting out.
Can I repair a resin driveway myself with just a kit from a DIY store? For hairline cracks and small loose-stone patches under 0.5m², yes. High-street kits from reputable brands work for cosmetic fixes. For anything structural, get a professional.
Does resin driveway repair increase my home’s value? A tidy, well-maintained drive supports kerb appeal and property value. A visibly damaged drive can knock thousands off a valuation, so timely repair is a sound investment. Our kerb appeal guide explores the numbers in detail.
What if my resin driveway is under warranty? Contact the original installer first. Most reputable installers offer 10-year guarantees covering binder failure and workmanship. DIY repairs can invalidate the warranty, so check terms before you pick up a caulking gun.
Conclusion
Most resin driveway problems don’t need a bulldozer. Cracks, loose stones and small dips are patchable, affordable, and can restore a drive to near-new condition in a day or two. The key is honest diagnosis: know whether you’re looking at cosmetic wear, a base failure, or widespread binder breakdown, then pick the fix that matches.
Your next steps:
- Walk your drive and note every defect: crack lengths, loose areas, dips.
- Check the age of the surface and whether the aggregate colour is still available.
- For anything beyond hairline cracks, book a professional assessment.
- If you’re leaning toward replacement, compare quotes carefully and ask about base specification, not just the top layer.
Ready for expert eyes on your drive? Get a free, no-pressure quote from Driveways Plus and we’ll tell you honestly whether it’s a patch job or a full rebuild. Our common driveway problems guide is also worth a read if you’re weighing up options. If the base has gone and a repair will not hold, our resin driveways page explains how we build them, and we cover resin driveways in Bristol and resin driveways in Bath in detail.